
With the expanded feature set that InfluxDB V2 offers, many want to upgrade their existing V1 InfluxDB installations. The issue is that there are a lot of incompatibilities between V1 and V2. Any of your systems writing to InfluxDB, like Telegraf, will need to be updated to use the new influxdb_v2 plugin, since this new version comes with token based authentication instead of user based authentication. The query language is also different in V2, which spells trouble if you have something like Grafana set up. Even the intern doesn’t want to rewrite every panel in every dashboard to use the Flux language instead of InfluxQL.
Fortunately you can still use InfluxDB V2 and all of its features with your V1 dependencies using InfluxDB’s V1 API, which allows you to do all of the reads and writes in V1 format. In V1, we have databases, but in V2, those have become buckets. For the sake of simplicity here, we can just assume these are the same. The V1 API gives us the ability to map a database to a bucket, so all our dependencies don’t need to be updated to V2. The V1 API also lets us query in InfluxQL, so anything using queries written in InfluxQL don’t need to be rewritten to use the Flux query language.
Setting Up The V1 API
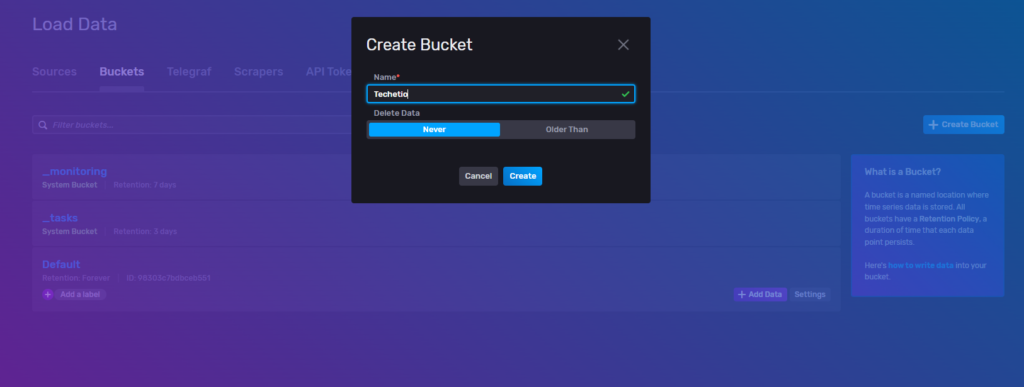
In order to do this, let’s first create a bucket in InfluxDB V2 that we can map our data to. Also note the ID of the bucket after it’s created, you’ll need this later.
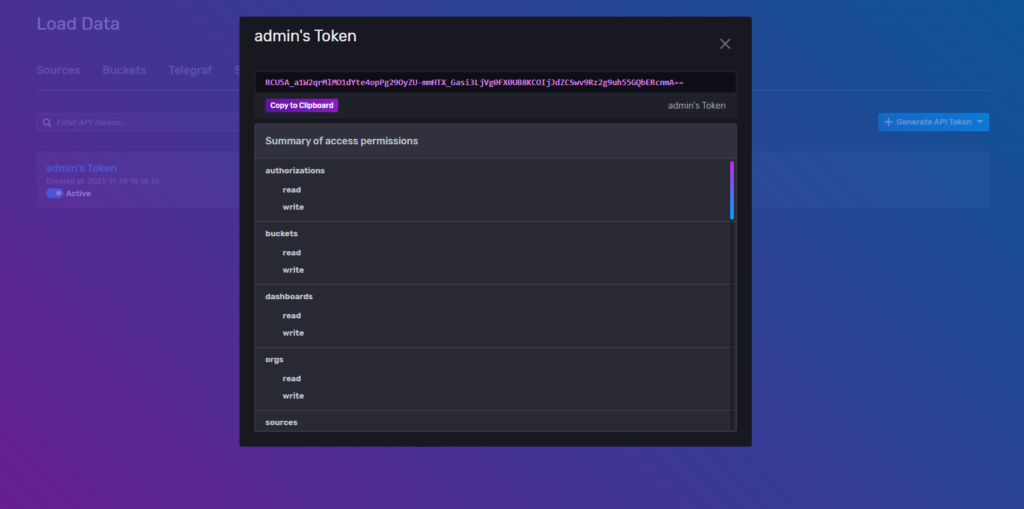
Next we’ll need our admin token in order to create the mappings. This can be found under the API Tokens tab, clicking on the admin’s Token link gives us the token to copy.
You will also need the name of your organization in InfluxDB. You can find this by clicking on the user icon on the left sidebar of your screen. The top item will have the username of the currently logged in user, and right below that will be the organization name.
Now prepared with our bucket ID, admin token, and organization name we need to use to the InfluxDB CLI to create the mapping. This often means opening an SSH connection into the host running InfluxDB, or in my case, exec into the docker container running InfluxDB.
The first thing we’re going to do is set some variables to make our lives a little easier down the road. Here we’re setting our token, organization name, and bucket ID to variables in Bash. In case you didn’t notice, this tutorial assumes you’re using Linux. If you’re not, you’ll have to tailor certain aspects of it to your OS, such as variable assignments.
token=RCU5A_a1W2qrMlMO1...
org=Organization
bucket_id=a0a0ac9ddd0e716e
The next thing we’re going to do is create a user that we can let our V1 dependent services use. We want to name the user “services” and give it a super secret password of “mypassword”. In the case of this example, we’re going to accomplish this with the following Influx CLI command:
influx user create --name services --password mypassword --org $org --token $tokenOur next command is going to create the mapping for the database and bucket. In this case I’m going to name the database “techetio” and give it a retention policy of forever:
influx v1 dbrp create --db techetio --bucket-id $bucket_id --rp Forever --org $org --token $tokenAnd lastly, we’re going to give our newly created user read and write access to this bucket for our services to use.
influx v1 auth create --username services --read-bucket $bucket_id --write-bucket $bucket_id --password mypassword --org $org --token $tokenThat’s it! Let’s test it out.
Testing It Out
To test this, I’m going to run a Telegraf agent that uses the V1 protocol to send metrics. The configuration for it looks something like this for our example:
[agent]
  interval = "10s"

[[outputs.influxdb]]
	urls = ["http://localhost:8086"]
	database = "techetio"
	username = "services"
	password = "mypassword"

[[inputs.cpu]]
After kicking off Telegraf and verifying that everything looks good from the initial logs it spits out, we can also look in InfluxDB and see that we have metrics coming in from this agent.

While it’s probably best to eventually upgrade all your dependent services to use the newer V2 API, this is an easy way to get your V1 services to communicate with the newer, feature rich version 2 of InfluxDB.
For more information on using InfluxQL and the V1 API in general with InfluxDB V2, read InfluxData’s docs: https://docs.influxdata.com/influxdb/v2.0/query-data/influxql/